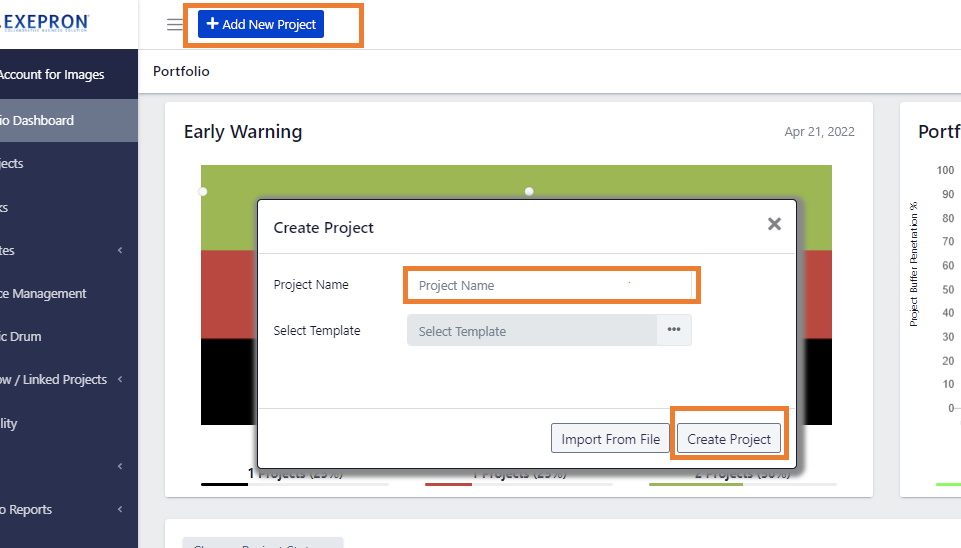
Create a new Project in the Planning Screen. #
Auto Save: the Planning screen includes Auto Save. Each entry or change is saved automatically.
Create a new Project or Select a Template or Import from a file.

Create a Project Steps #
The general steps to create a project in Exepron are:
- Log in to Exepron: Open your web browser and navigate the Exepron login page. Enter your login credentials to access your account.
- Click on the Projects tab: Once you’re logged in, click on the Projects tab in the top navigation bar.
- Click on the New Project button: On the Projects page, click the New Project button to start creating a new project.
- Enter Project Details: In the New Project form, enter the Project Name, Project Objective, Due Date, and any other relevant project details in Notes, Links, and Lists.
- Add Tasks:
- Starting on the right side, Start with the End on Mind and apply the logic of necessary condition. Add predecessor Tasks by ‘Drag and Drop‘ from each Successor Task.
- Use existing Templates or Template Blocks to create a new project from existing Best Practices.
- Add Resource Types to Tasks and determine Task Durations: the Assigned Resource Type Quantity will determine the Task Duration.
- Set Milestones: Set Task milestones to trigger important Actions on completion of a specific Task. i.e. Material delivery can trigger an email for progressive payment.
- Add Project Documents: Attach URLs to any relevant project documents or files, such as project plans, specifications, work instructions, or reports to any Task.
- Exepron Auto-Saves Projects in Planning PERT as each Task is added.
- Critical Chain Schedule (CCPM): Run the CCPM Schedule and review project Risk (PRQ), Project Duration, and acceptable Due Date.
- Accept the Project: Click the Accept button.
- Pipeline the Project: Exepron’s Dynamic Drum feature will staggered projects in Pipeline Status to conduct “What-If” and Resource Loading assessment.
- Start the Project: Click the Start Button for the Project in the Portfolio Dashboard.
Check the rest of the Reference Guide for details on the above actions.


