PERT View, short video: PERT View short video
Project Objective Box:
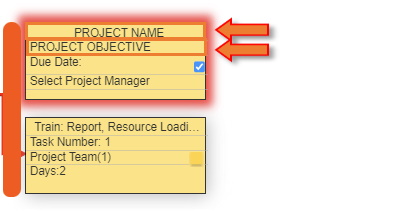
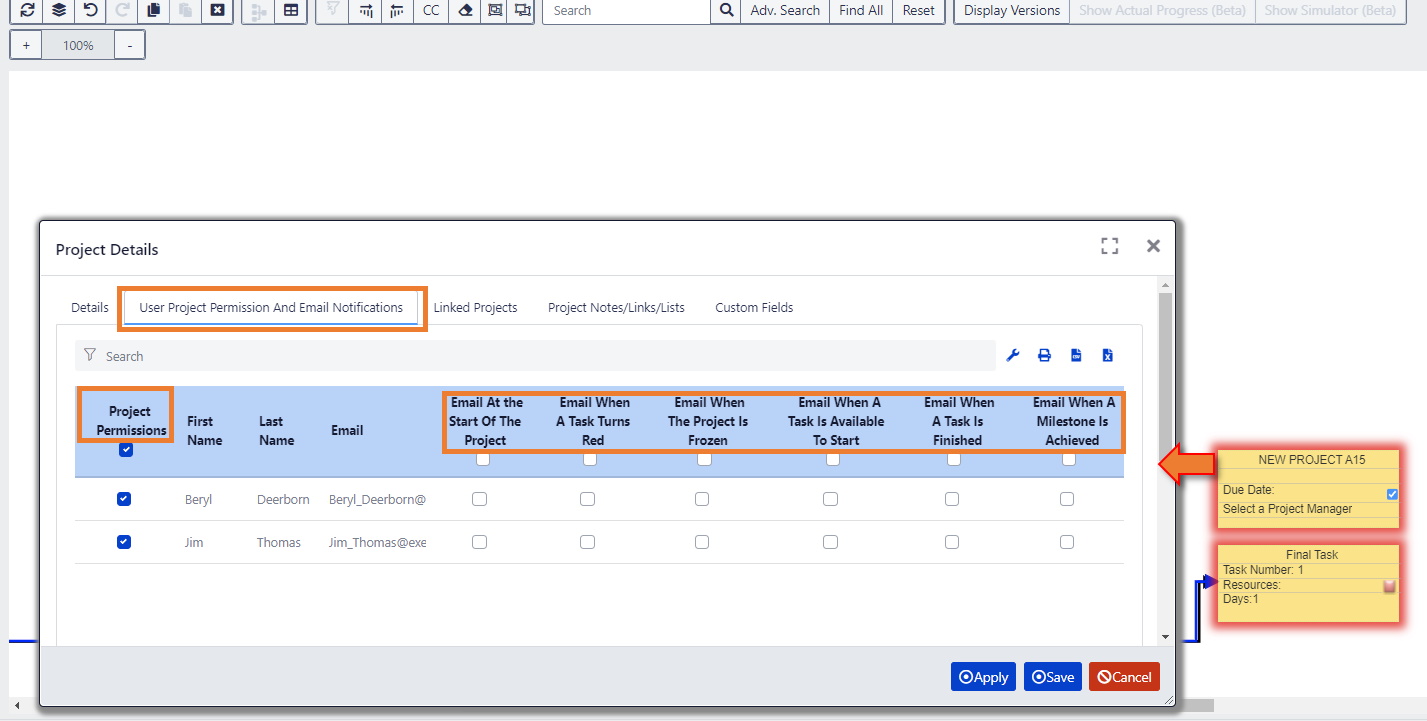
Double click on the top left corner of the yellow Project Objective/Final Task to open the Edit Project screen.
Click the User Project Permission and Email Notifications tab.
Project Permission by User: Select Users who may view/access this Project or Template in the Project Permission column.
Email Notifications by User: Select the specific Email Notifications per individual User for this specific project in each Email Notification column.
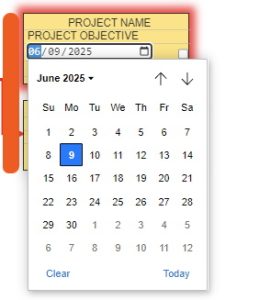
Due Date: Select a due date for your Project. Either a contractual obligation, a corporately given Due Date or allow the Team to select a Due Date based on a need.
As Soon As Possible Due Date: Users can schedule a project without selecting a Due Date – check the box next to the Due Date and Exepron will automatically provide a date.
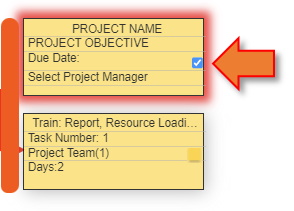
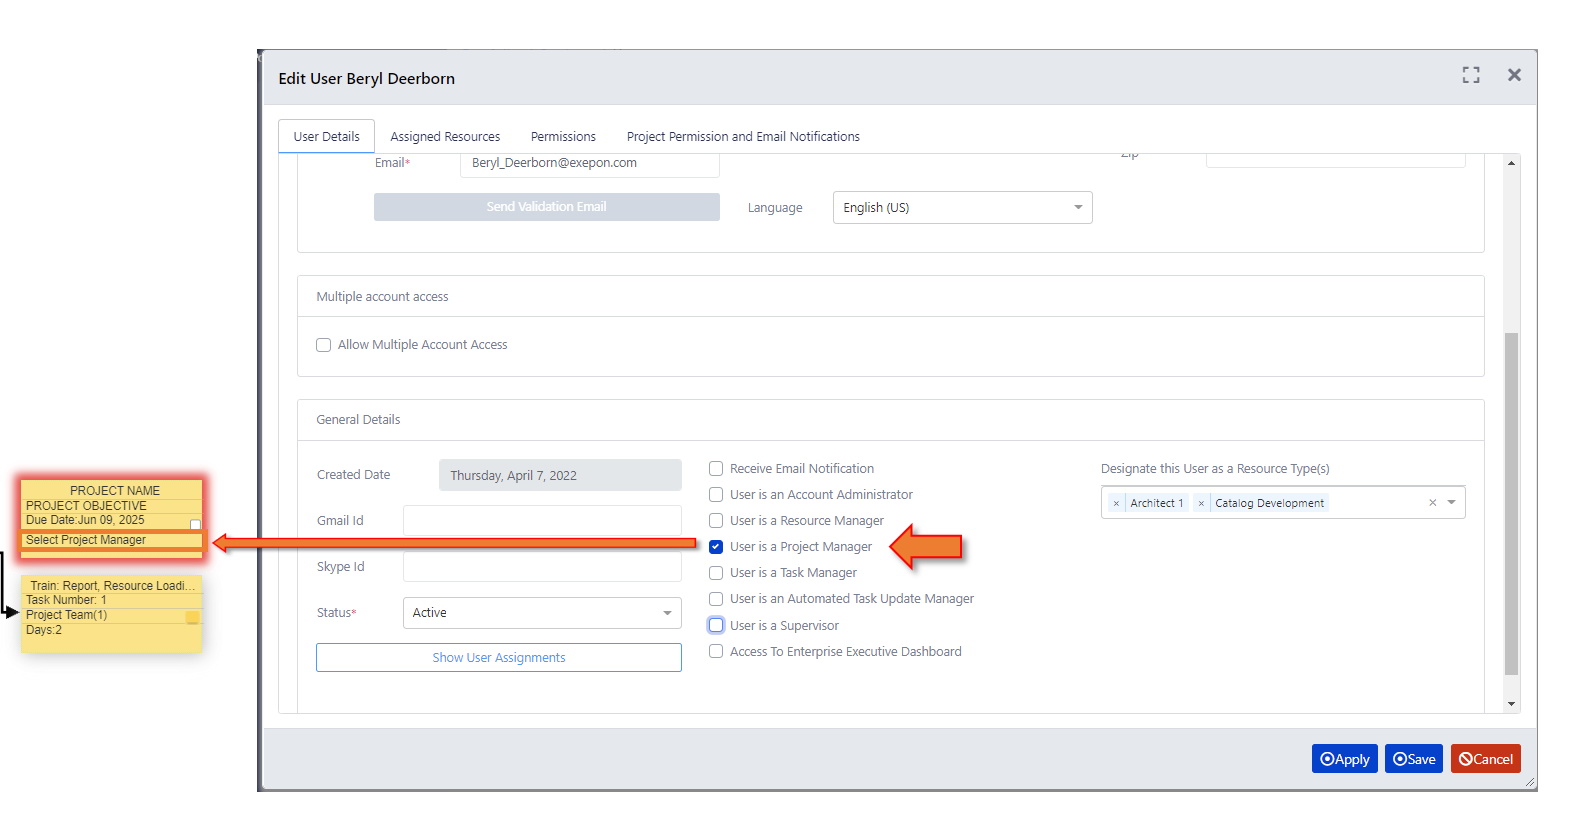
Project Manager: Select the Project Manager. A Project Manager has overall responsibility for all aspects of the project: The Planning, Scheduling and Execution phases.
A User is designated as a Project Manager in Settings/Users/User Details.
The Project Manager assigned to a project can be changed when required.
Note: Only one Project Manager can be assigned as a Project Manager to a Project
Final Task Box:
Task Name: Enter the Final Task Name. The User can edit the Task Name when required.
Final Task #: Defaults to Task 1. The User can edit the Task #.
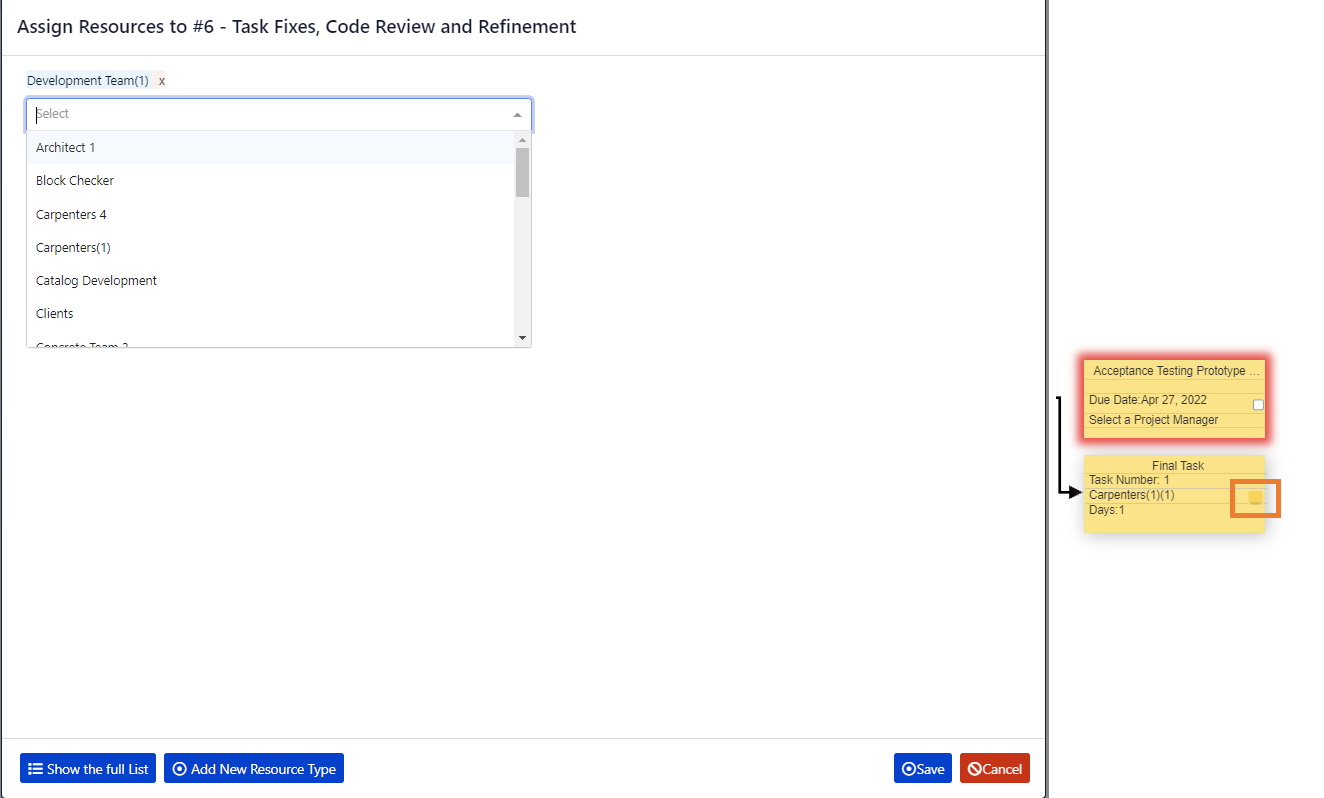
Resources: Select and assign the Resource Type(s) and Quantity to work on this Task.
Use the Auto Text option to assign Resources. Type the first few letters to display matching Resource Types.
OR Click Show the full List to view the Assign Resource Type table.

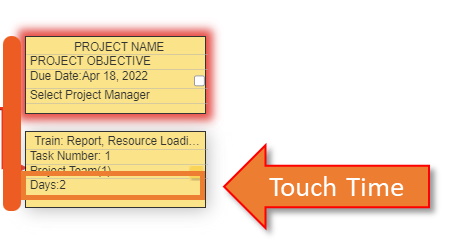
Duration in Days: Enter the number of days required to complete this Task.
Touch Time: Schedule only the estimated “touch time” for a task. Which means all of the disruptions; delays, ‘contingency’, ‘safety time’ or ‘padding’ time must be removed.
Exepron will automatically calculate and insert the Buffers.
Exepron will not accept partial days or 0 days.
A work day = 8 hours.
The Work Week for this Account is selected in the Calendar for this Account (Settings/Calendar).
Build a Project Network by clicking Add Task or click on the vertical orange grab bar attached to the side of a task, drag and drop the task into an empty space.
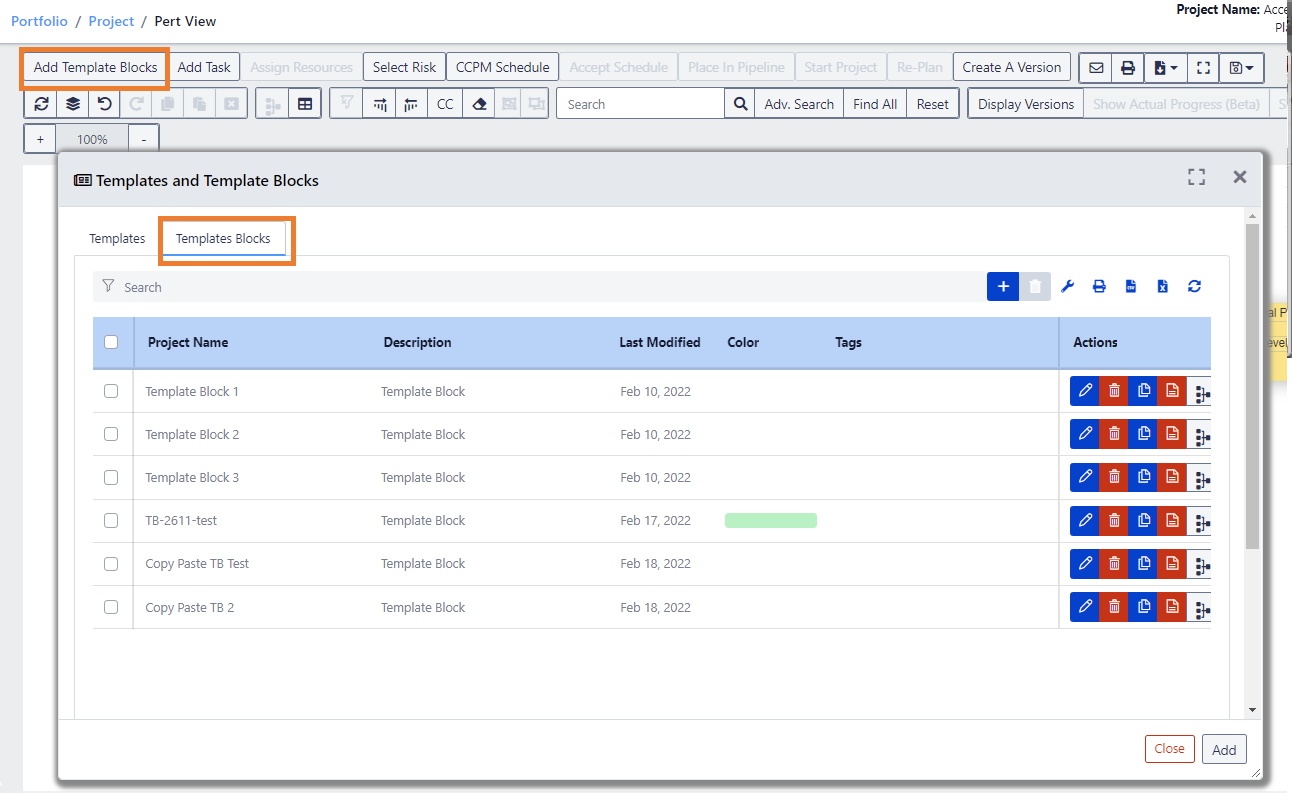
OR click Add Template Block to add a Template Block to this project.
Multiple Template Blocks can be added to a project.
Follow the Add New Project wizard from left to right.

![]() Note: Wizards have a short Video Tutorial with instructions that can be accessed by clicking the ?
Note: Wizards have a short Video Tutorial with instructions that can be accessed by clicking the ?
Add Template Blocks
Click Add Template Blocks to display the Templates and Template Blocks Library.
If you would like to create a new Template Block, click Templates/Create new Template Block.
View the Create new Template Block section for additional information.

Select a Template Block to add to the project.
Template Blocks can be added to an existing project network at any time during Planning.
Combine multiple Template Blocks into one project.
Template Blocks will display below the current project in the Planning screen.
A Template Block can represent Standard Operating Procedures, System Components, Assembly Processes etc.
